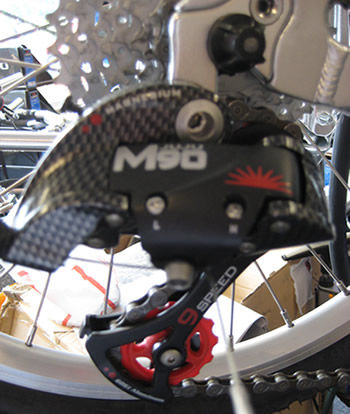
H & L screws limit movement on the rear dérailleur. The rear dérailleur should never be allowed to move inside the inside face of largest cog, this risks the chain getting caught between the spokes and rear cog. Once this happens you may need to rebuild your rear wheel. Additionally the rear dérailleur should never be allowed past the outside face of the smallest cog. This could allow the chain to get wedged between the frame & cog possibly tearing up the frame. The H and L screws will limit motion by the rear dérailleur past the biggest & smallest cogs to minimize the probability of problems occurring. These instructions are for a single chainring drivetrain. Our procedure ( algorithm ) is very quick and proper for our bicycles, but allows for some variability. Do not use these instructions for a multi chainring bike.
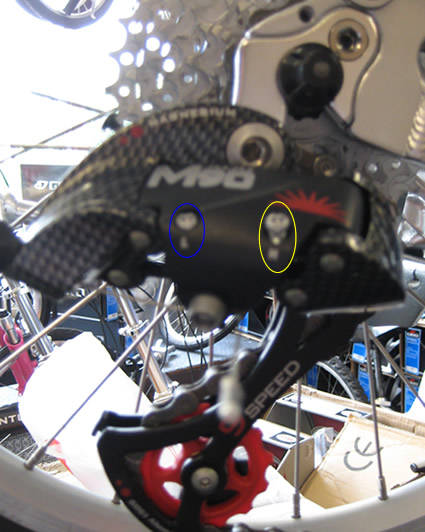
Step #1 Check the rear derailleur. View the H & L screws

Step #2 H screw has a yellow oval around it. L screw has a blue oval.. Note the H screw is out & L screw is in.

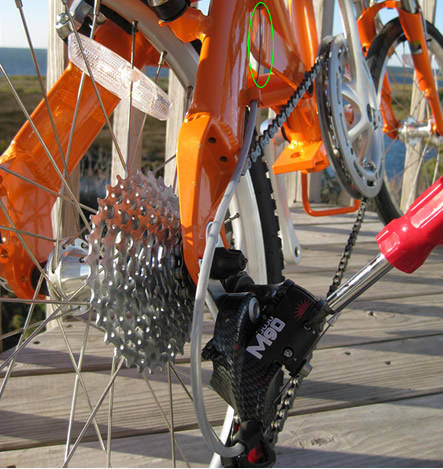
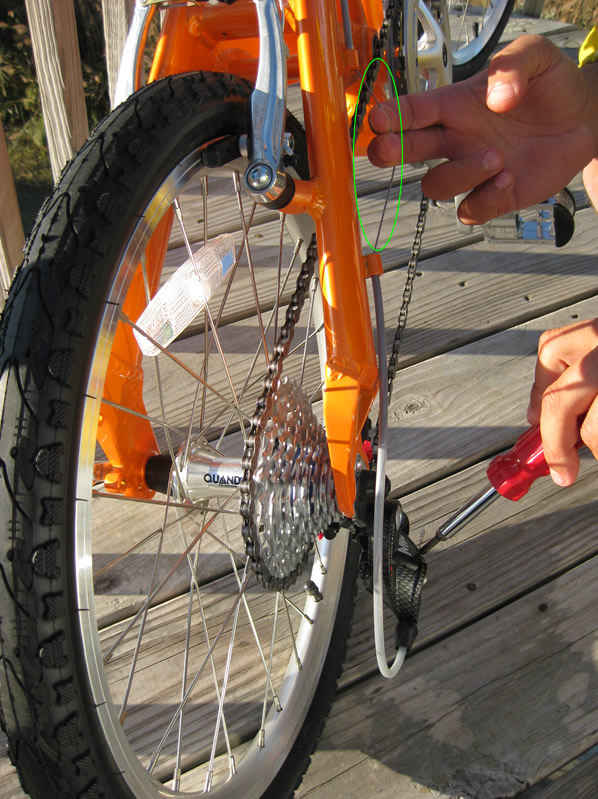
Step #3 Place the chain on the largest cog. Pull the cable with your hand to create tension, if this causes the dérailleur to move inside the largest cog you must turn the L screw clockwise until the derailleur is below the biggest cog, then back off counter clockwise a bit ( not to restrict range ). This will keep the rear derailleur from coming off the largest cog & backing off will not restrict the range of motion.

Step #4 Place the chain in the smallest cog. Relieve all tension from the cable, if this causes the dérailleur to move outside the smallest cog you must turn the H screw clockwise until the dérailleur is below the smallest cog, then back off counter clockwise a bit ( not to restrict range ). This will keep the rear dérailleur from coming off the smallest cog & backing off will not restrict the range of motion.

