The sun is shining. You hop on your bicycle ready to head out on the open road. You are looking forward to the wind passing gently through your hair. Everything is going great, until you shift gears and whoa, your bike does not cooperate properly. What do you do?
There is nothing more frustrating than switching gears on your bike only to have your dérailleur shift into the wrong gear. Whether it goes into a higher gear or a lower gear than you want can put you in an unsafe position, and it can completely spoil your ride. We talked about how to start adjusting your rear dérailleur in Bicycle Rear Dérailleur Adjustment Part One. Before you read this section and complete your rear dérailleur adjustment you will need to have successfully gone through steps #1 to #3. Step #4, the one we’re going to talk about here, is the last and easiest step. To efficiently accomplish this step you will require a bike stand or a person willing to hold the rear wheel in the air.
Getting Started
Due to spring tension the rear dérailleur prefers to stay in the smallest cog - assuming there is no cable tension. Cable tension lifts the dérailleur into the larger cogs. Hence, if the dérailleur does not move into larger cogs it needs more cable tension, achieved by turning the barrel adjuster counter clockwise. If the dérailleur does not move into smaller cogs it has too much cable tension, and the tension must be relieved by turning the barrel adjuster clockwise.
My procedure - or algorithm - for adjusting the shifter is simple. If the shifter is in a smaller numbered gear than the chain (for example: the chain is in the #2 cog while shifter is in the #1 position) you need to turn the barrel adjuster clockwise. On the other hand, if the shifter is in a larger numbered gear than the chain (for example: the chain is in the #2 cog while shifter is in the #3 position) you need to turn the barrel adjuster counter clockwise.
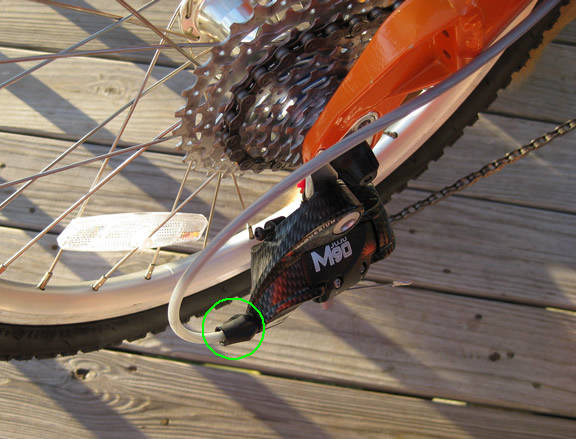
Step #1 View the barrel adjuster on the rear dérailleur.

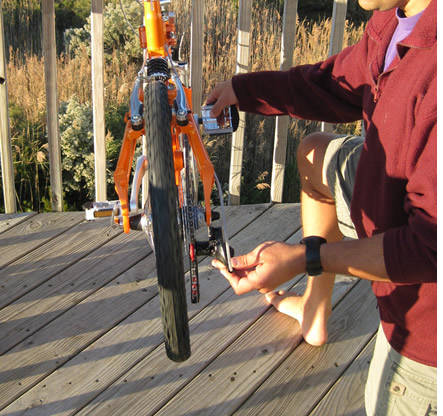
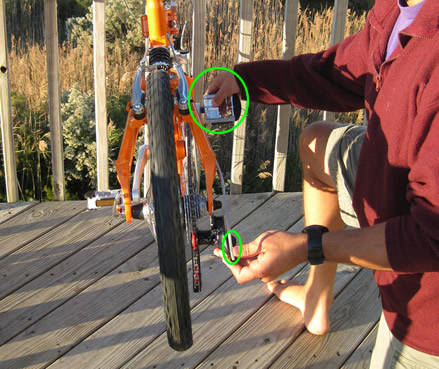
Step #2 Put the bike in a stand or have a partner hold up the rear wheel.

Step #3 Put the shifter in 1st gear and rotate the pedals. If the chain is not in the biggest cog we will assume it is in a smaller cog due to the limiting ( H & L ) screws do not allow it anywhere else. Turn the barrel adjuster counter clockwise & rotate the pedals until the chain is in the largest cog.

Bingo you’re done. You shouldn’t have to do this adjustment very often, but depending on the age of the bike, the riding conditions it goes through, and wear and tear you will likely have to make a rear dérailleur adjustment at least once a year. Cold weather is tough on bicycles because of all the metal that contracts and expands due to temperature, so it is likely that in locations where weather is changeable and severe the rear dérailleur adjustment will need to be performed more often.
